Showing posts with label chocolate. Show all posts

Saturday, December 21, 2013

Christmas spice cake in a jar

Photo by Steve Shanahan


This version of a pre-packaged cake mix is a great Christmas gift. It is easy to assemble and is a practical and helpful gift to give to busy people. The only additions needed to complete the cake mix are the wet ingredients.

To assemble the cake mix in the jar, use a medium sized jar that has been sterilised, by boiling in a saucepan of water for fifteen minutes. The jar should have an airtight seal to keep the cake ingredients fresh. The ingredients you will need are below.

2 cups self raising flour
3/4 cup dark brown sugar
1 tsp ground cloves
1 tsp ground Dutch cinnamon
1 tsp ground ginger
½ tsp grated nutmeg
½ cup dutch cocoa
pinch of salt

Measure and sift the flour and salt and then in a separate bowl, measure and sift the cocoa and spices together.

Starting with the sugar, layer the ingredients according to their density with the heaviest at the bottom.

Press down on the ingredients as you layer them, so they remain in their layers for presentation. As you place each layer in the jar, brush down the sides with a dry pastry brush.

Then add the sifted flour in its layer topping with the cocoa and spices.

Give the sides of the jar a final brush down, then seal and decorate the jar with a label and ribbon.

To provide the method to make the cake, I printed the instructions below on a piece of thick paper and rolled it up in a scroll and tied it onto the lid with the ribbon.

Avoid shaking the jar to keep the ingredients in their layers.

 *******************************************************************************************************


Christmas Spice Loaf  

All dry ingredients have been prepared in correct quantities for you to easily prepare the Christmas Spice loaf. You will only need a bowl and a wooden spoon to mix the cake. The ingredients contain no artificial colours or preservatives and the only extra ingredients you will need to make the cake are

·       cup golden syrup
·       1 cup of milk and
·       1 cup of water.

Method

Preheat oven to 180C. Grease a 23 centimetre x 10 centimetre loaf tin. Dump the entire jar of cake mixture ingredients into a large mixing bowl, stirring with a wooden spoon to combine. Add the milk, water and golden syrup and mix to a smooth paste. The mixture should fall in a ribbon from the spoon. Pour the mixture into the greased loaf tin, and slam on the bench top to remove bubbles.  Reduce oven temperature to 150C and bake for approximately 45 minutes to 1 hour. Insert a skewer to come out clean to check if it is cooked.

This cake keeps best in an airtight container for about one week and gets better with age.


Friday, August 9, 2013

Kidney Beans - Curry and Chocolate

Photos by Steve Shanahan
 First published Canberra Times 8 August 2013 and goodfood.com.au


My memory of the 70s is crammed with images of noisy, shared houses, furnished from Vinnies, with the compulsory turntable, massive speakers and walls lined by a million LPs in scavenged milk crates. Fashion crimes were abundant and often involved Indian toe thongs and wrap around maxi skirts. In the background of this joyous chaos was the usual large pot of red kidney beans and vegetables simmering atop the faded green Early Kooka.

If you have something a little more exotic in mind for that tin of kidney beans lurking in the back of the pantry cupboard, then try these genius recipes.

With kidney beans touted as a miracle food that claims to lower cholesterol, reduces the risk of heart attack, is high in iron, fibre and vitamins, I decide to increase our intake of these super legumes and reduce the amount of meat in our diet.

The comforting Red Bean Curry is an authentic North Indian dish that is a snack to prepare and contains basic ingredients from the cupboard. Unlike many curries, you can make this in less than an hour. Just make sure you have plenty of fresh ginger on hand. I spike the curry with extra chilli and serve it with Bombay Potatoes as a side dish.  

The recipe for Magic Bean Cake hails from a Thermomix recipe converted to a conventional method and requires the use of a food processor. You can make this cake using a blender and an electric mixer if you don’t have a food processor. Although this dense, silky cake is far from conventional, it is equally at home as a kids birthday cake or a dinner party dessert.  Best served with creme fraiche.  The added benefits of this cake is that it is low in sugar and is gluten free.

Serves 4
Red bean curry

3 tbsp extra virgin olive oil
3 tbsp chopped fresh ginger
1 medium onion, finely chopped
1 tomato, diced
3 cloves garlic, chopped
1 tsp salt
1 tsp ground cumin
1 tsp ground coriander
½ tsp cumin seeds
1 tsp brown mustard seeds
½ tsp ground turmeric
¼ tsp cayenne
240g tin chopped tomatoes
850g of canned red kidney beans, undrained.
½ cup chopped parsley and coriander
1 large green chilli, deseeded and chopped


Heat the oil in a deep sauce pan over a medium heat for one minute. Add the ginger, garlic, onion, green chilli and mustard seeds and let sizzle for about one minute. Add the crushed tomato, salt and remaining spices and cook for an additional five minutes, stirring frequently. Add the undrained kidney beans plus one cup of water. Bring to the boil, then reduce the heat to medium and cook uncovered for ten minutes. Remove from heat and serve with Bombay Potatoes, boiled rice and naan. Top with a dollop of yoghurt and chopped herbs.

Bombay potatoes
4 tbsp olive oil
1 tsp butter
¼ tsp brown mustard seeds
pinch of chilli powder
¼ tsp ground turmeric
350g potatoes, boiled till soft, quartered and well drained
salt to taste

Heat the oil in a frying pan on medium heat. Add the mustard seeds, chilli powder, turmeric and salt, stirring for thirty seconds.

Add the chopped potatoes and fry for about four minutes, until the potatoes are smothered in seeds and have crispy edges. Reduce the heat and cover the pan, cooking for a further five minutes. Serve with the curry as an accompaniment.

Magic bean cake
420g can of kidney beans, drained
1 tbsp vanilla paste
1 tbsp black coffee
70g dutch cocoa powder
1 tsp gluten free baking powder
½ tsp bicarbonate of soda
¼ tsp salt
125g softened butter
5 eggs at room temperature
160g sugar


Preheat the oven to 180C.
In a food processor, puree the kidney beans, coffee, one egg and vanilla until smooth. Set aside.

Using the same bowl of the food processor, combine butter and sugar, processing until pale.

Add the remaining eggs one at a time, processing until mixed after each addition. Add the bean mixture, then the sifted cocoa powder, salt, baking powder and bicarbonate of soda to the mixture, processing until mixed through and smooth.

Pour the batter into a twenty-two centimetre greased round cake tin or a silicone loaf tin, baking for approximately thirty-five minutes. Leave the cake to cool in the tin before turning out. To serve, dust with icing sugar and a dollop of creme fraiche or yoghurt or topped with a cream cheese icing.


Wednesday, June 5, 2013

Eclairs


 Photos by Steve Shanahan

 First published Canberra Times 5 June 2013.

The original classic eclair has outlasted many boutique food trends. Yet, this unassuming pastry has never shoed it in to first place, playing second fiddle to the more sexy macaron, friand or tartelette.  That is, until now.  With eclairs sporting their luminous fondant coats and bold flavoured fillings they are enjoying the front row window of many boutique patisseries in Paris.

Fauchon, the Parisian specialty food store located at place de la Madeleine, parades eclairs as a changing and whimsical background to display their creations. Don’t be surprised to see the doleful eyes of Mona Lisa following you from her sweet pastry canvas.

Another couple of notable Paris patisseries, L’Éclair de Génie and L’Atelier de l’Éclair have both added savoury eclairs to their repertoire. If you plan to partake, be prepared to wait your turn for the privilege, as the locals have taken a liking to these and there is a regular line up of hungry customers on any given day.

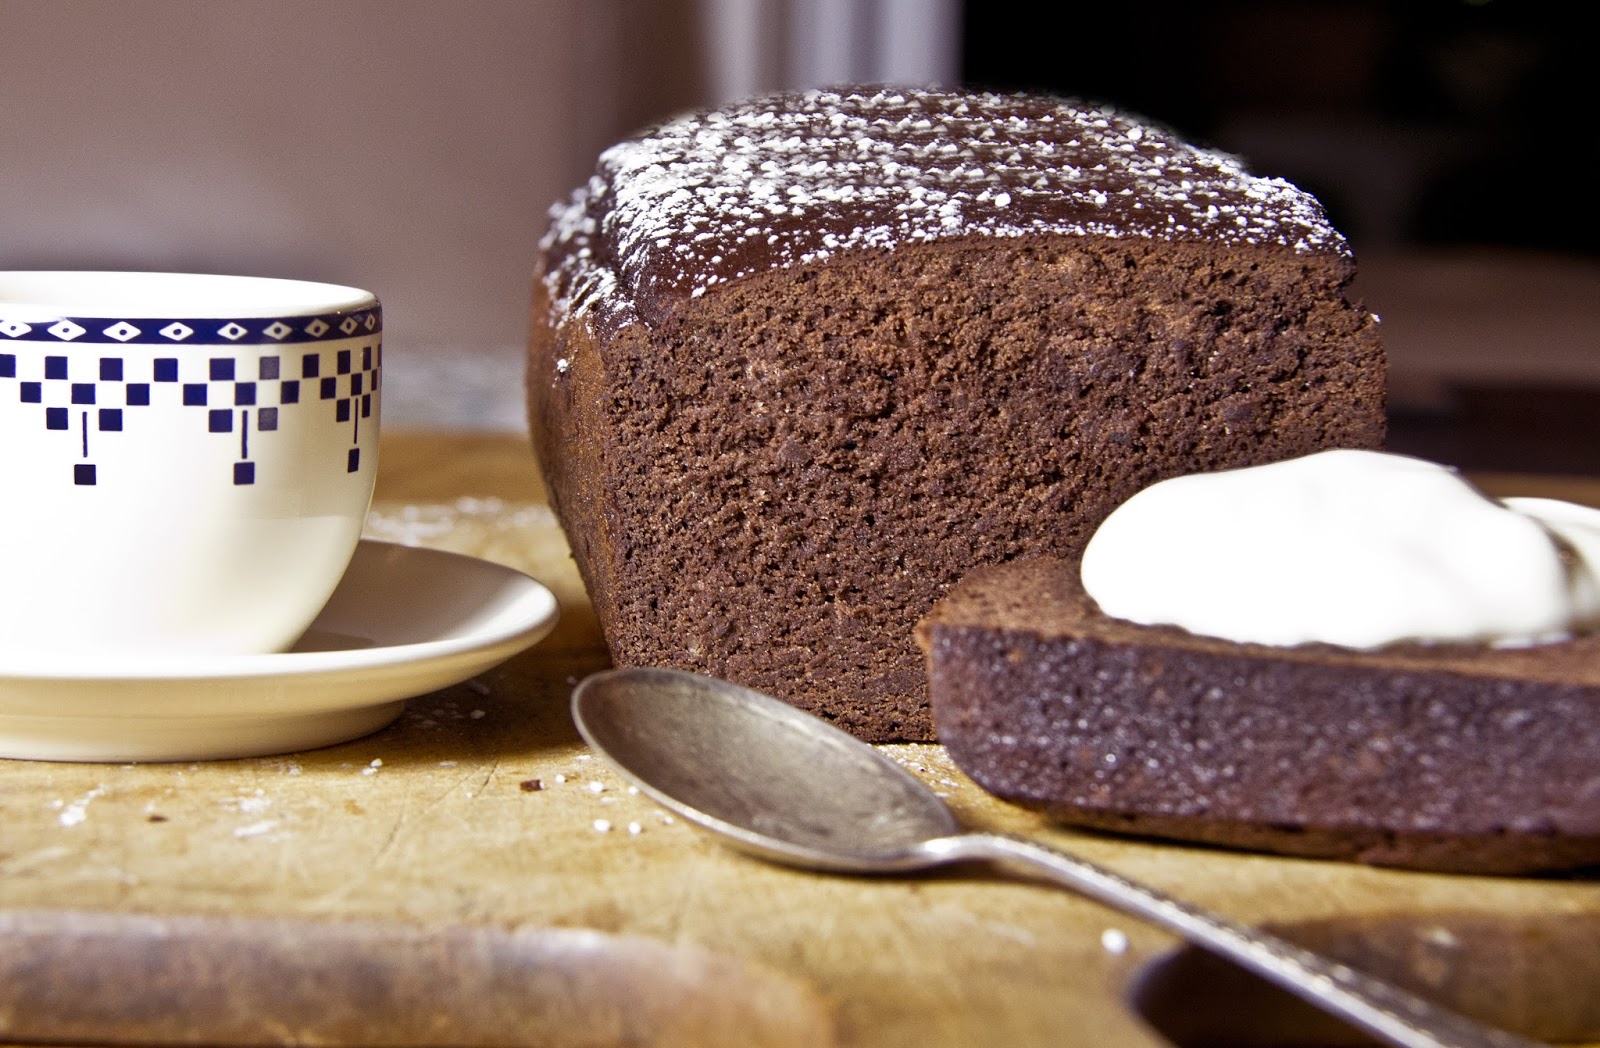
The traditional eclair, and incidentally my favourite from my 1960s school tuckshop, is a simple affair. The case is made with choux pastry dough, piped from a pastry bag in a log shape, and baked until it is crisp and hollow inside. It is either filled by piping the filling in or split lengthwise and filled. The classic filling is a vanilla pastry cream and usually topped with a chocolate or coffee glaze or icing.

If you want to be adventurous, I have included some creative fillings for you to begin with. My choices were, cumquat, lime, strawberry and chocolate. I have also included the basic and traditional pastry cream filling, to add your fruit flavourings to. And just a warning before you start, if you plan to get creative, make sure you give yourself time to play.

For best flavour, allow the finished eclairs to be chilled for an hour or so before serving.
Tips
  • Although not traditional, this method of using an electric mixer to incorporate the eggs into the dough saves a lot of effort and produces great results.
  • If you are going to get creative and make the fruit pastes and coloured icing, there are a number of steps in the process. Prepare the fruit paste and chocolate ganache first, then secondly the pastry cream, thirdly, the choux pastry and lastly the coloured fondant icing.
  • Use a large size pastry bag with a size 13, or a 1.5 centimetre piping nozzle to pipe the pastry.
  • The consistency of the classic French pastry cream should be very thick and pudding like.

Recipe makes about a dozen eclairs.

Fruit pastes
You can use whatever fruit you like to extract maximum flavour. I used 6 cumquats, halved; 3 limes, 2 juiced and one chopped up; 1 punnet of strawberries, sliced.
4 tablespoons of sugar to each saucepan of fruit
Add water as needed

Using 3 small saucepans, place fruit and 4 tablespoons of sugar in each.
Add at least 3 tablespoons of water to the cumquats and the limes. The strawberries will need less water as they will produce more juice.

Place each pan on a medium heat with lid on.

Bring to a boil and reduce heat, lifting the lid to stir to ensure the mixture does not burn. Add the water as needed to loosen the mixture. Cook the fruit down until you have a jammy sauce. This will only take three to five minutes.

When cooked, push each paste through a fine sieve to extract a silky fruit gel. This should only produce a small quantity of fruit paste, however it should be enough to flavour the pastry cream. Discard the solids from the sieve.

Cool the individual pastes in the fridge.

Chocolate ganache
125g dark chocolate, broken into pieces
25g butter
125g pure cream

Place the chocolate and butter into a medium sized heatproof bowl.  Heat the cream in a small saucepan and bring to a rolling boil. Pour the scalded cream over the chocolate pieces. Stirring until the chocolate is melted and the cream is incorporated. Cool in the fridge.

Vanilla Pastry Cream
2 cups whole milk
6 jumbo egg yolks
½ cup sugar
1 ½ tsp vanilla paste
1/3 cup cornflour
50g unsalted butter, chopped into small pieces

In a small saucepan bring the milk to a boil. In another saucepan of medium size, whisk the yolks with the sugar and cornflour until thick and well blended.

Without stopping, whisk a third of a cup of the milk into the egg mixture, to loosen the mixture, then still whisking add the remaining milk in a thin and steady stream. Put the pan over a medium heat and with a wooden spoon, stir continuously and vigorously. You will need to make sure you stir into all the edges of the saucepan to stop the thickening custard mixture from sticking. While still stirring, bring the mixture to a boil, still stirring for about one to two minutes. The mixture should be thickened and pudding like. Remove the pan from the heat.

Stir in the vanilla paste and let stand for a few minutes, then stir in the butter, a piece at the time. This will make the pastry cream silky.

Scrape the pastry cream into a bowl and press a piece of plastic wrap directly on top. This will stop a skin from forming and create an airtight seal. Then place another piece of plastic wrap around the top to seal the bowl. Refrigerate to cool.

To flavour the vanilla pastry cream, when cool, divide the pastry cream into smaller portioned bowls and add some of the cooled fruit paste or chocolate ganache to each portion of the pastry cream. Tasting to ensure you have enough to flavour the pastry cream. A rule of thumb is not to incorporate any more than half the ratio of fruit paste to vanilla pastry cream, to ensure the pastry cream remains stable.

Choux pastry
½ cup whole milk
½ cup water
120g unsalted butter, cut into pieces
1 tbsp sugar
½ tsp salt
1 cup plain flour
4 jumbo eggs, at room temperature

Place oven racks evenly positioned in the oven. Preheat the oven to 190C and line two baking trays with baking paper. Stick the paper down with a little cooking spray to hold it in place.

Bring the milk, water, butter, sugar and salt to a rolling boil in a medium sized heavy based saucepan over a high heat. Add the flour all in one go, and lower the heat to medium. Start to mix the flour in immediately with a wooden spoon. The dough will come together, and a light crust will form on the bottom of the saucepan. This stage is meant to dry out the pastry. Continue to stir the pastry even though it will be stiff, for another two minutes. The dough should be smooth and pull away from the sides of the saucepan.

Remove the saucepan from the heat and turn the dough into the bowl of an electric mixer with a paddle attachment. Alternatively, if you don’t have a mixer, you can continue the next stage while the pastry remains in the saucepan off the heat. Let the dough sit for a minute to rest, then add the eggs one at the time, mixing between each addition. Beat until the dough is thick and shiny. Make sure that each egg is completely incorporated before you add the next. The dough will fall apart and come together during this process. The dough should be glossy and smooth and ready to use immediately.

Fit a large pastry bag with a size 13 or 1.5 centimetre nozzle. Fill the pastry bag with the dough and pipe out even strips of dough that are about 13 centimetres (5”) in length, and about 4 centimetres apart. This will allow them to spread.  When piping the dough, cut the ends with a sharp knife to keep them even and smooth.

Bake the eclairs for about eight to ten minutes, then rotate the trays for even cooking. Check them for browning. Continue to bake the eclairs for another five minutes (or so), then wedge the handle of a wooden spoon in the oven door so it stays slightly open and bake for another three to five minutes. The total baking time is about fifteen minutes.

Remove the eclairs from the tray to an oven rack to cool.

Fondant
1 box of ready to roll fondant icing, Orchard brand is readily available at most supermarkets
food colouring
decoration

This stage will be the very last before assembly. Place the fondant in a saucepan for stove top heating, or a microwave proof jug for microwave heating, on low heat, only enough to melt just below blood temperature.

Once melted, separate into smaller portions to equal the number of different icing colours you plan to use. I chose, green, orange and pink. Mix in a few drops of food colouring to each portion, adding more to increase the colour intensity required.

The icing should be a runny consistency without being too liquid causing it to run off the top. You may need to reheat the fondant slightly to keep it at the required consistency.

Assembly
You can either cut the eclairs in half lengthwise with a bread knife, and using a small pastry bag and small nozzle, pipe on some of the flavoured pastry cream. Alternatively you can leave the eclairs whole and make a small hole with the nozzle tip in the base of the eclair and pipe the cream directly into the eclair until it is full.  The latter is my preference.

You will need to use a different pastry bag for each flavoured pastry cream.

Once you have filled the eclairs with your choice of fillings, you will need to top with the matching icing fondant.

Hold the eclair at a ninety-degree angle up over the icing and spoon the icing from the top to allow it to run down the éclair to the other end, letting the excess drop back into the bowl. The icing should settle around the top nicely without dripping off. Continue with the remaining eclairs, finishing one colour up at the time.

For the chocolate ganache eclairs, fill these with a half vanilla pastry cream, half ganache mixture. Top with the softened ganache using the same method as the fondant.

Finish off each éclair with your choice of decoration.

If you were to only make the traditional eclair, fill with the basic vanilla pastry cream, no added flavourings, and finish with the chocolate ganache for the topping.


Wednesday, December 19, 2012

Giant chocolate meringues


Photo Steve Shanahan

First published Canberra Times December 5, 2012.
My earliest memory of the coastal village where I grew up was that our local shops contained all the essentials of life. The butcher, chemist, vegetable and grocery shop sat in a higgledy-piggledy row, built of cream painted planks with a dark red trim. We called the shops by the shop owners surname Friths hardware, Smiths shoes, Hiles for clothes, Kozarys fruit and veg, and some exceptions like Goodway grocers and Coolibah milk bar.

Smack bang in the middle of the row of shops sat the very sixties bakery filled with the classic Aussie patisserie du jour. The front door was always open, with plastic fly strips to keep out the blowies flapping in the coastal breeze.

At the end of our weekly Saturday trip to the shops, we would drop into the bakery, a reward for uncomplainingly accompanying Mum to do the weekly shopping. While she chatted to the staff, our noses were pressed to the counter, debating with great passion which cake we would choose; the neenish tart, vanilla slice or piped pink meringues topped with coloured sprinkles. The cakes sat in neat rows behind the counter glass and were the ultimate lure, perfectly positioned to catch us kids, as we poked and prodded the glass with our grubby fingers.

Although she was a dab hand at cooking, Mums meringue making was one of her specialties and she was clearly influenced by her European heritage. Her meringues were very different to those made at the bakery, often being double the size and distinctly freeform in shape. I later realised she used the Swiss technique, commonly used in the patisseries of Europe. This method involves warming the egg whites and sugar in a pan, creating a stable mixture that can be piped, swirled or spooned and peaked loosely with a spoon. The result is a dry, crispy and silky exterior with a marshmallowy centre.

French patisserie windows are overflowing with this style of meringue in every flavour and colour variation imaginable. Beautiful displays are created with the billowy, free flowing shapes and the silky textures of these creations.

Regardless of the method you use, there are a few key tips to success. Firstly, you will need a reasonably heavy duty stand mixer, as hand beaters just wont cut it. Unless you are built like the incredible hulk, you will have difficulty obtaining the consistency you need for good meringues without this essential piece of equipment.

Because egg white and fat dont mix, wipe the utensils you intend to use with a vinegar and water solution and allow them to dry before you start. This will remove any traces of fat.

Another point to remember is not to overbeat your egg white and sugar mixture. Whisk eggwhites to a soft peak about eight times the original volume in air. You can test this stage by lifting your whisk and the peak of meringue mixture left by the whisk should just curl around to resemble a birds beak.

Always weigh your egg whites, as this method uses double the weight of sugar to egg white. This quantity makes about 13 giant meringues.

Photo Steve Shanahan
218g egg whites
436g caster sugar
pinch of salt 15g bitter cocoa, sifted
½ tsp vanilla paste
1 heaped tspn ground cinnamon

Preheat the oven to 110C and line two large baking trays with baking paper.
Sieve the cocoa and cinnamon and mix to combine.

Place the egg whites, salt and sugar in a large saucepan. Cover your hands with clean food grade disposable gloves.

Place the saucepan over a very low heat to gently heat the egg whites and melt the sugar. Stick your hand into the egg and sugar and stir continuously with your hand. While using your hand in this way, you can control the temperature to ensure the egg white and sugar does not rise above 37C. Stir till the sugar is dissolved. You may need to remove the saucepan from the heat every now and again, returning it to the heat to control its temperature.

When the sugar is dissolved and you cannot feel any sugar between your fingers, transfer the mixture to a stand mixer fitted with a whisk. Add the vanilla paste and whisk the egg whites until bird beak stage, when the meringue should hold its shape.

Remove the mixing bowl from the machine, and sieve the cocoa powder and ground cinnamon over the meringue. Do not mix through. Use two large soup spoons to scoop a large spoonful of the mixture onto the tray for each meringue. Dont be tempted to mix the cocoa through the mixture or you will spoil the effect of the chocolate and cinnamon swirl.

Drop spoonfuls of meringue mixture onto the prepared baking trays, leaving sufficient gaps as they swell while cooking. Dont be concerned if the chocolate and cinnamon is not mixed through, this is the intended effect.

Place the meringues in the preheated oven, leaving a gap between the oven shelves to allow the hot air to circulate evenly.

Bake the meringues for two hours and turn off the oven. Leave the meringues in the oven to cool for 10 minutes with the oven door ajar.

Remove from the oven and gently transfer to a rack to completely cool. Keep the meringues in an airtight container for up to four days.